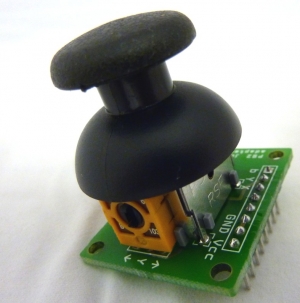
Joystick
How does it work?
Imagine a volume control or other knob. These controls are generally made from potentiometers, which are variable resistors. By connecting the potentiometer as a voltage divider, you can get a varying voltage out of the device, which can be fed to an analog to digital converter on a microprocessor. This allows the software to read the knob position.
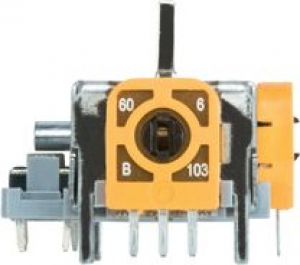
This joystick contains two potentiometers, connected with a gymbal mechanism that separates the “horizontal” and “vertical” movements. (If the joystick is flat on a table, these movements are more “front / back” and “left / right”, but you get the idea.) The potentiometers are the two orange boxes on the sides of the joystick. If you move the joystick while watching the center shaft of each potentiometer, you'll see that each of the potentiometers pick up movement in only one direction. Clever, isn't it!
This joystick also contains a switch which activates when you push down on the cap. The switch is the small black box on the rear of the joystick. If you push down on the cap, you can see a lever pushing down on the head of the switch. The lever works no matter what position the joystick is in.
X and Y will range from 0V to 5V (3.3V depending on your power supply)
VCC: connect this to your positive supply (usually 5V or 3.3V)
Y: this is the vertical output voltage (will be half of VCC when the joystick is centered)
X: this is the horizontal output voltage (will be half of VCC when the joystick is centered)
b: this is the output from the pushbutton, normally open, will connect to GND when the button is pushed
GND: connect this to your ground line (GND)
Because of resistor manufacturing tolerances, the joystick may not read exactly half of VCC when at rest. You may want to make a note of the “zero” reading, and hardcode that value into your program if necessary.
This joystick is a low-power device. The analog and switch outputs should be connected only to high-impedance inputs, such as I/O ports on a microcontroller or op-amp inputs. Don't try to hook the joystick directly to LEDs, motors, or other high-current devices (more than 1mA), or you may damage it.
The joystick can be used with an Arduino using this sketch
Thanks to Sparkfun


